Setting up and testing Fraud Detector
The Fraud Detector uses AI-powered image checks to help you catch fraudulent returns before they are sent back to you. By verifying product authenticity, detecting swaps or alterations, and validating return reasons, it helps protect your brand from losses, improves operational efficiency, and ensures customers receive fair outcomes.
Understanding the different types of Fraud Detectors
There are 2 different types of fraud detectors. You can enable one or more detectors depending on your needs.
Detector Type | What It Does | Real-Life Example |
|---|---|---|
Product Condition | Spots visible issues like stains, pilling, dirt, or general wear on the returned product. | A dress is returned claiming it was “unworn”, but the AI spots makeup stains around the neckline. |
Original Item Verification | Compares the returned item with the original product to detect swaps or alterations. | A customer sends back a different handbag instead of the one they purchased, hoping for a full refund. |
Here's how it looks like in your returns dashboard:
Setting up Fraud Detector
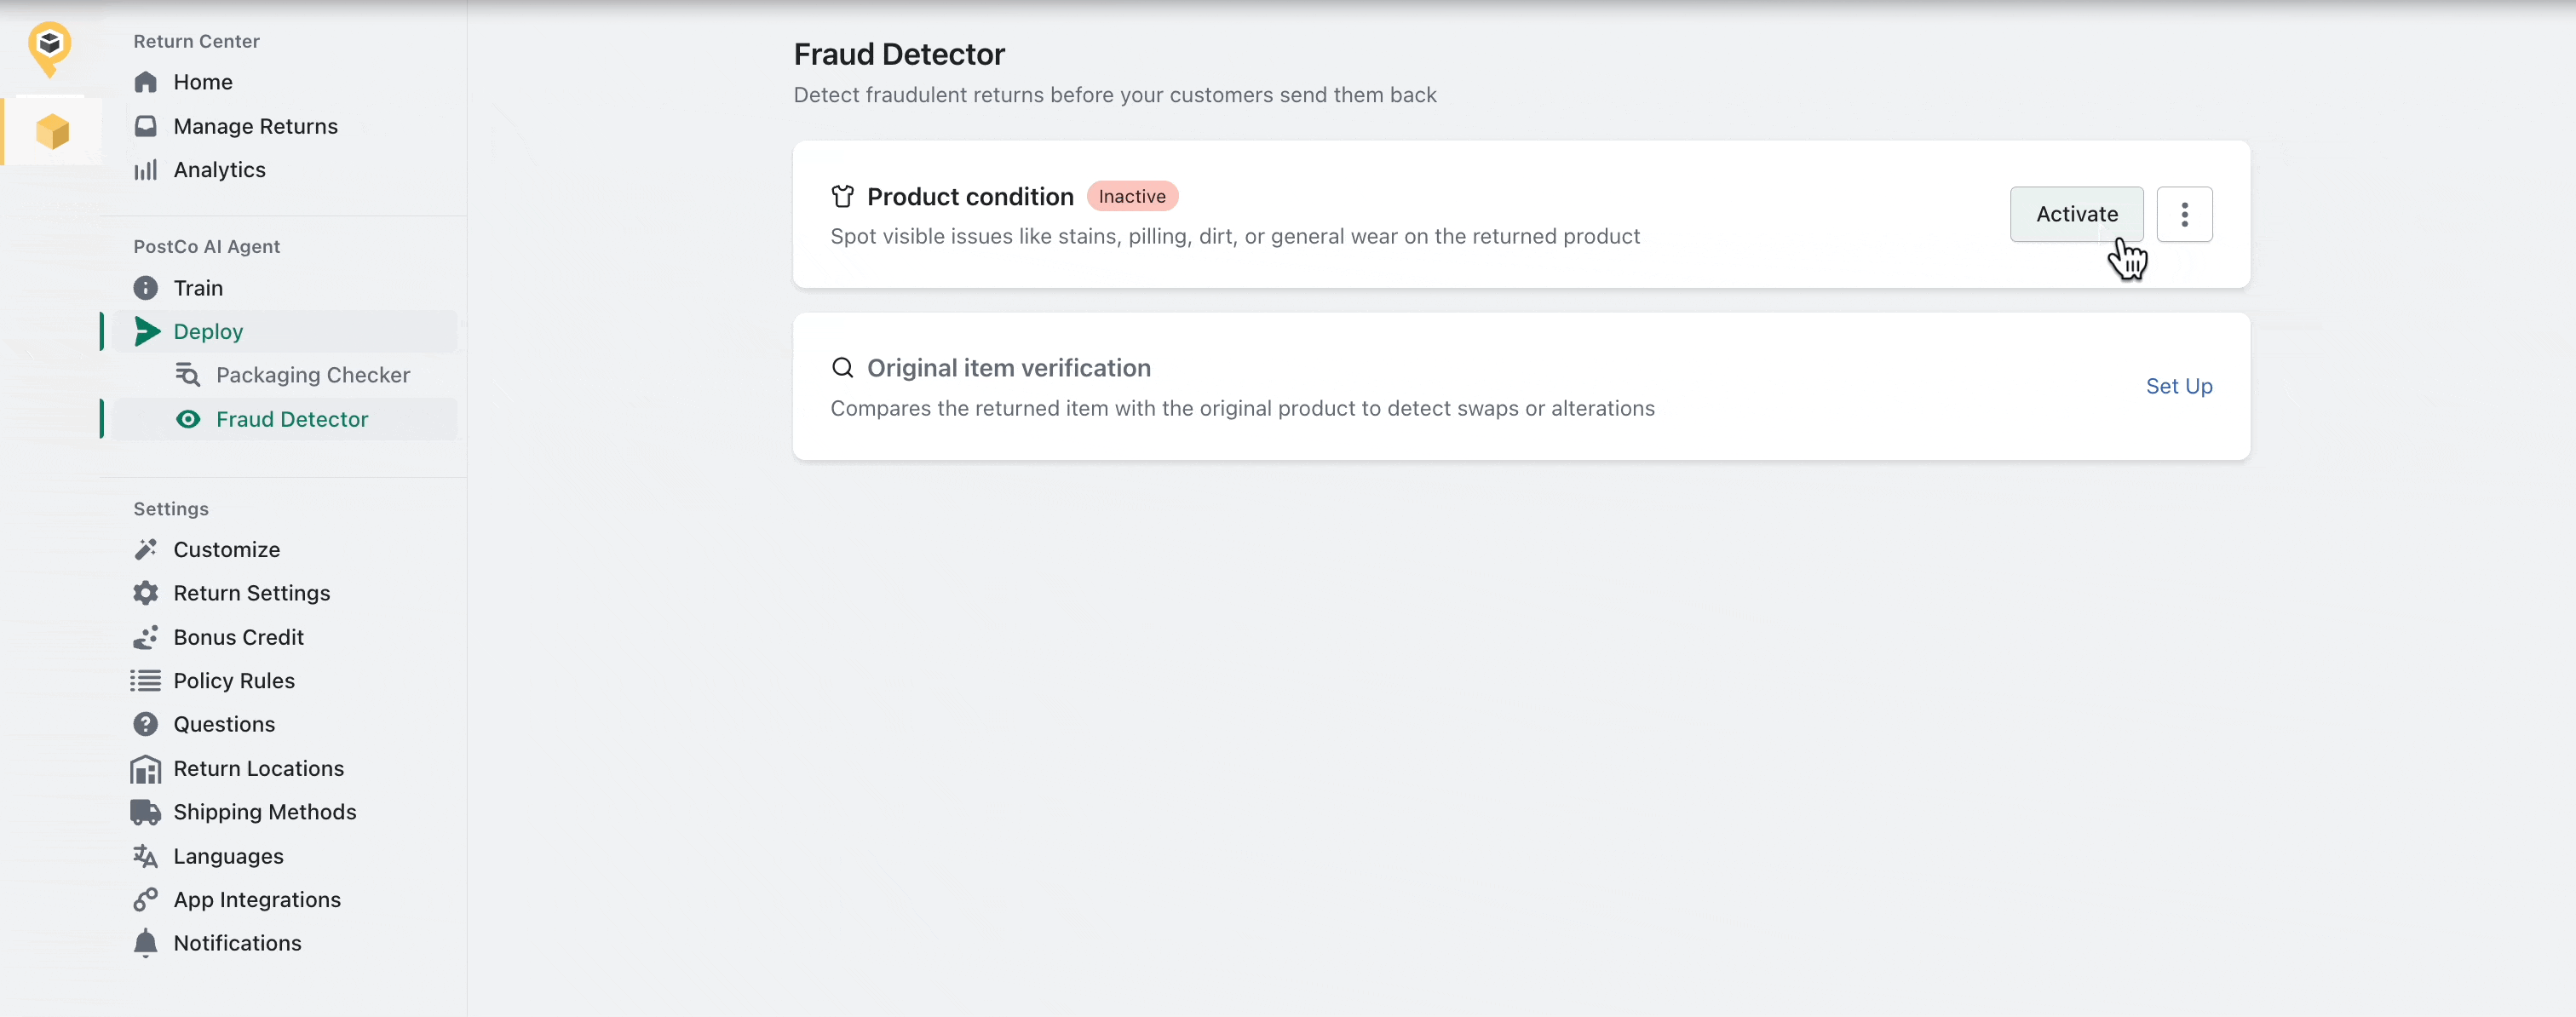
In your PostCo dashboard, look for Deploy > Fraud Detector under PostCo AI Agent section.
Note: All fraud detectors follow the same setup process.
Step 1: Set up the detector
On the Fraud Detector page, hover over the Fraud Detector you wish to configure and click Set Up to begin.
Step 2: Select return reason(s)
Pick the return reason(s) that will trigger the checks.
Note: Only return reason(s) with image upload enabled will be displayed here.
Step 3: Decide what happens if the AI flags a return
Allow request with warning – The return can be submitted, but the customer will be warned it may not be approved.
Block request – The return request cannot be submitted if it fails the check.
Testing before going live
Before activating a fraud detector, it’s best to test it to ensure it works as expected:
Click on the more options icon (⋮) icon and select Test.
Upload sample images.
The AI Agent will process the images and display whether the return passes or fails the evaluation.

Test as many times as you need, and when you’re happy with the results, click Activate to start running checks on live return requests.